|
The
Squamidian Report May 10 / 25
Online
Versions
Of This And Past Issues Issue
#1198 Doug **** From Doug
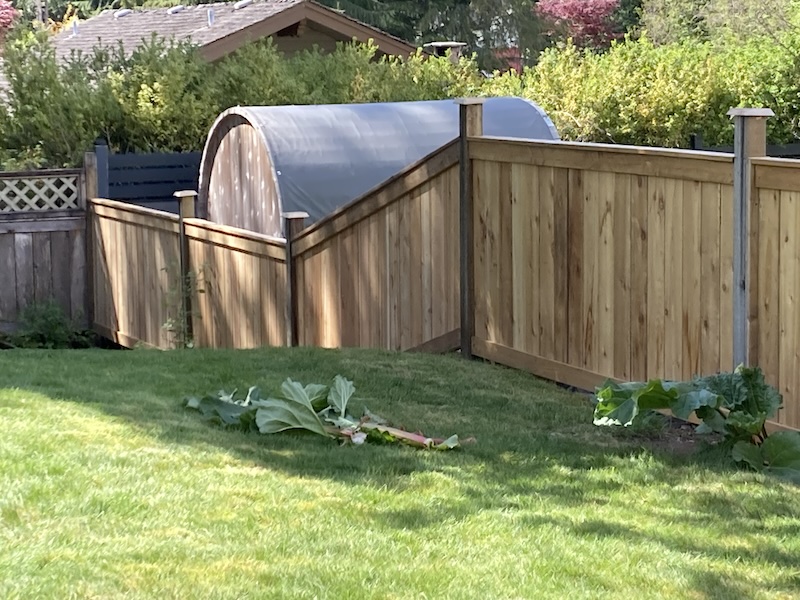
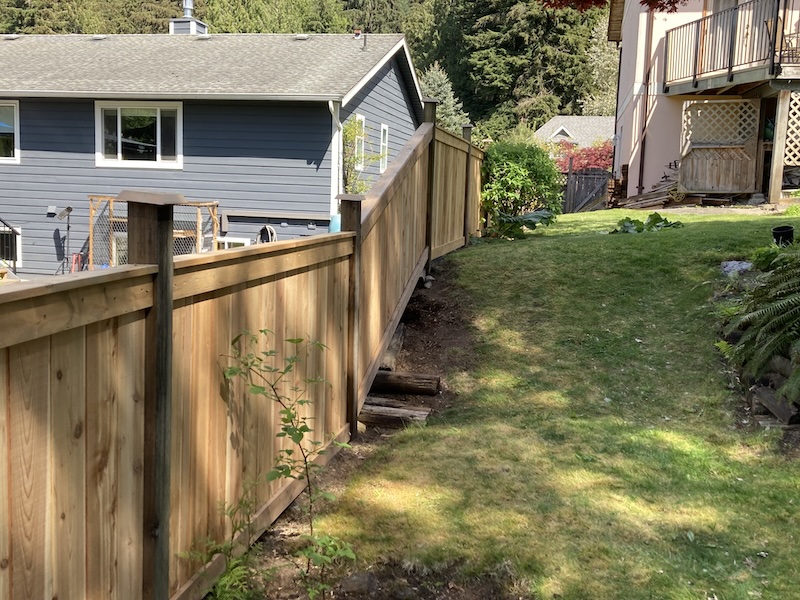
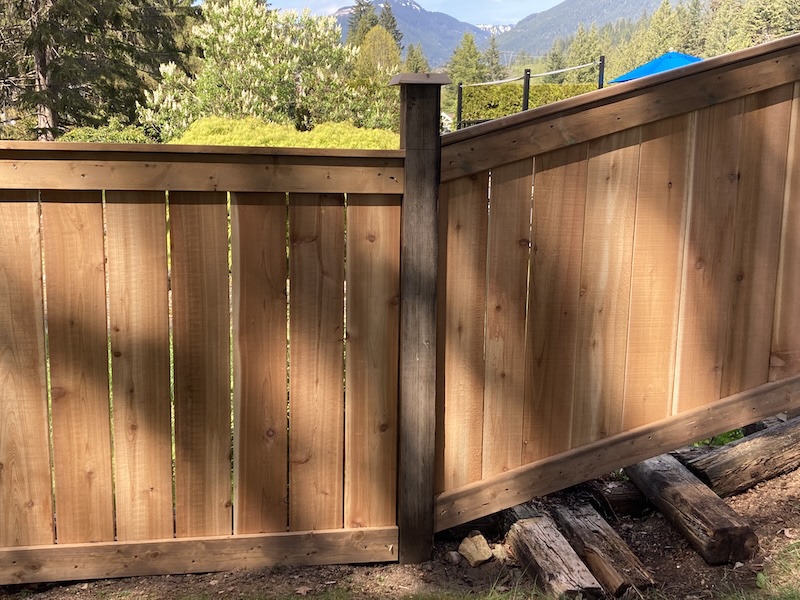
As yall can see by the issue number up at the top, this is our 1198th edition. That makes next week, May 17, the 1199th, and the following week, May 24, the big 1200th. After that one we will pack it in for the summer. Im guessing most of our readers have probably already moved on to summer busyness and related distractions so its a good time to make that call. So, lets make these next two really good ones. * Weve had to replace 7 sections of our sideline fence. Those 7 sections were prefab units that had been relatively inexpensive, easy to get and easy to install a decade ago when I purchased them. The problem is, inexpensive meant cheap materials and shoddy assembly, in other words, they turned out to be crap. The sections of fence that Id built by hand a few years before that are still solid as ever. So, lesson learned, no more crappy prefab fence panels. Ive built my own again. They look better and are way stronger and will last way longer. Self-built panels start off with lumber yard fencing materials, ie, cedar fence boards, and PT cross boards and topper boards. The horizontal cross boards are PT because cedar 1x4x8ft would not be very strong but would be very expensive. Its quite simple to build the 8ft sections in my garage and simply carry them into the back yard and set them in place. I say simple because it is, but its not necessarily easy as the panels are heavy for old farts like us. One trick I use is to temporarily attach gate handles to the ends of the panels so we have something to grasp when handling the panels. The posts I put in many years ago are still firm and in good shape so there was no need to replace them. They just needed a bit of re-leveling and so on. The hardest section to deal with was where the back yard drops down in elevation. The drop is almost 3 feet and so the panel must be built with a slope that adheres to the drop in the yard. That panel we built in place. The now sloping horizontal boards and the upright boards had to be cut to the correct angle. It made for a lot of measuring, a lot of trips out to the garage where the saws were, and back again. But, we got it done. I never use nails or staples for anything like that, I always use screws, the ones that are coated so then wont rust. Each panel is screwed together and the panels are in turn screwed to the posts. At any time in the future, if a panel must be removed for any reason, just unscrew the holding screws and lift the panel out. That simple. As you can see from the pics, the new panels are the color of new wood. The old fencing etc have long since weathered and are that barn board silver grey. By this time next year the new panels will have weathered as well. Do you remember back in the 70s and 80s how barn board had become a big fad. Everyone wanted barn board panelling for their rec rooms. The desire for that material had become so out of control that farmers were finding that idiots were steeling their boards right off the sides of their farm buildings. Luckily, that fad ran its course and I dont have to worry about anyone stealing my fence.
Doug ****
Have
a
Good One ****
|